Become an 'Amazon Author' - Get a Powerful Do-Follow Backlink From Amazon
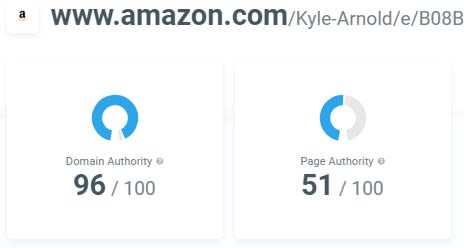
Amazon has a tonne of power, and having your own personal author page within Amazon could be quite useful. They only allow you to become an author if you have a book published on the platform.
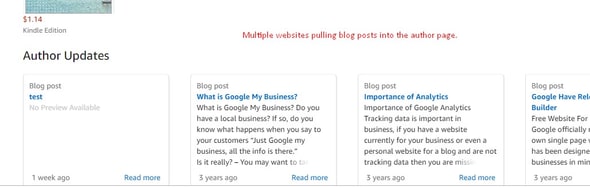
The benefit of this, is that you get a do-follow link to any of your blog posts that are found in your RSS feed on your website.
Amazon also allows you to use up to 2 additional pen-names, which are essentially separate accounts/author pages. Unfortunately it might be difficult to have more accounts than this, because it requires you to use real information and bank details as part of the process.
Create An Amazon Account
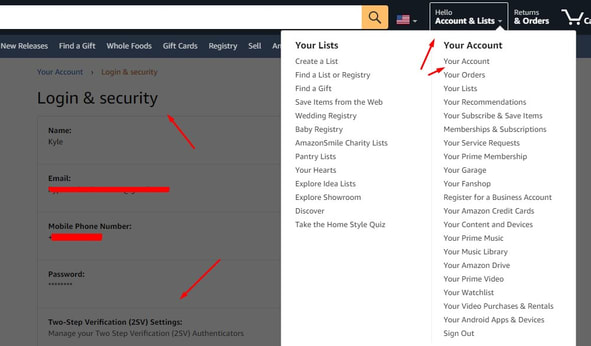
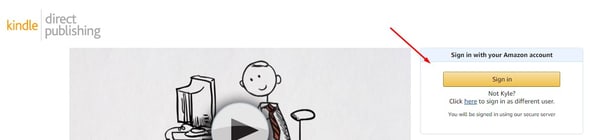
If you don't already have an account on Amazon, go ahead and create one. I also suggest to navigate to:
My Account > Login & Security > 2-Step Verification
It makes life easier going forward when signing into the various Amazon platforms. You can stop it from triggering on your device within those settings as well.
Kindle Direct Publishing
The next step is to sign up to Kindle Direct Publishing. You should hopefully just be able to use the same details you have for your Amazon account.
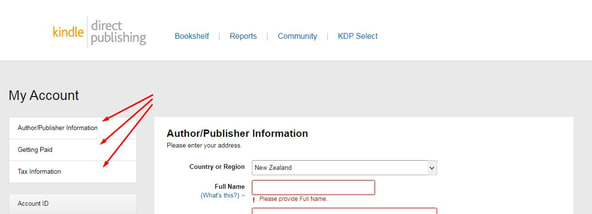
Kindle Account Information
The Kindle Dashboard will show you that your Account Information is incomplete. You will need to fill in all the details within that page and make sure that it is all accurate.
One of the important parts is to note is that unless you're into fraud (which I don't recommend at all), you will have to use your real information and connect your bank details, as well as relevant tax declaration forms.
These are here because most legitimate authors actually want to get paid for the books they publish. You have to comply with Amazon to become an author.
The good part is that this process is far more easier now than a few years ago. Just follow the steps and fill in the info they are asking for. Once done, just go back to the main dashboard.

Kindle Dashboard
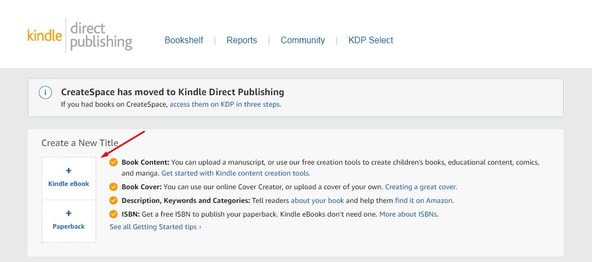
The Kindle Dashboard is where you can submit your e-book. Obviously, this will mean that you need an e-book!
What I did in my test was just use auto-generated content, and put it into a Word Document. Kindle allows you to import Word files, and they automatically convert it into the correct format you need.
I would suggest that if you're not wanting to use spun content, is to just grab some content from one (or more) blog posts on your website. The content length doesn't seem to matter either - The second book I published was only a few hundred words. You don't need images or a cover page either, You can automatically generate one when it comes to uploading.
Once you have your 'book' go ahead and click the Kindle eBook button to begin the process of uploading.
Prepare Your eBook
Most of this should be fairly straight-forward. Just remember that you are using this for SEO (unless you legitimately have an eBook too).
Don't overthink the titles and descriptions etc, just keep them on-topic and contextually relevant to the website that you are going to add into your Amazon Author Page to get the links.

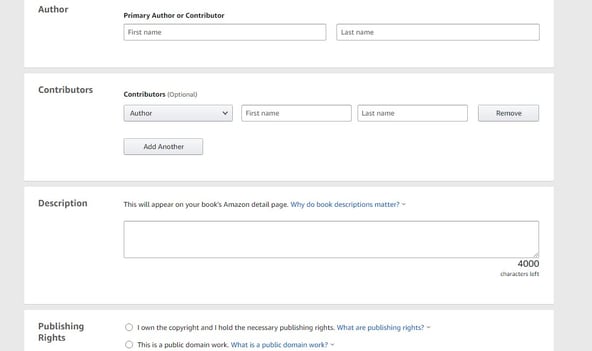
Author Details & Description
If you are using your own name, then make sure you do the same in this section. This is the author that will be attributed to the eBook and Author page when it comes to claiming your book.
Description is what is shown on the eBook product page, so try to be detailed - and once again, topically relevant to your website!
The options continuing from there are pretty straight-forward.
- Add in relevant keywords for searching in Amazon.
- Set the category for your eBook - Pick the one most closely related to your website.
- Age and reading grade - I just set them to the maximum (18+ and 12th grade)
- Check the box that says you are ready to publish, and then continue.
Upload eBook & Launch Cover Creator
Upload your Word Document, and then click the 'Cover Creator'.
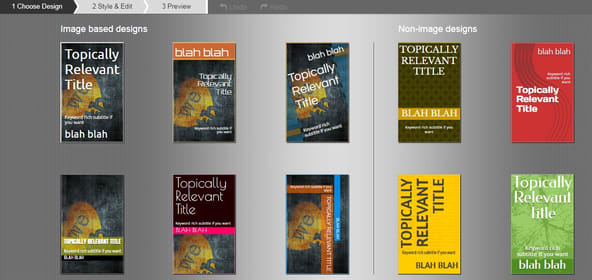
This will be where you can auto-generate a cover for your eBook. I suggest not being too picky if you're just doing this for a backlink. It is up to you if you want to put a bit more time into making it presentable.
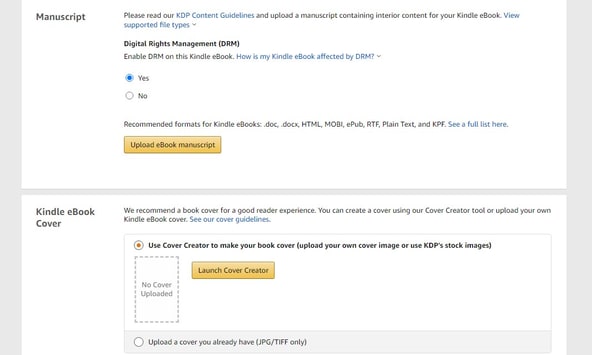
eBook Cover Image
Once you have your cover image how you like, you need to preview it and then save. From there we move into setting the pricing.
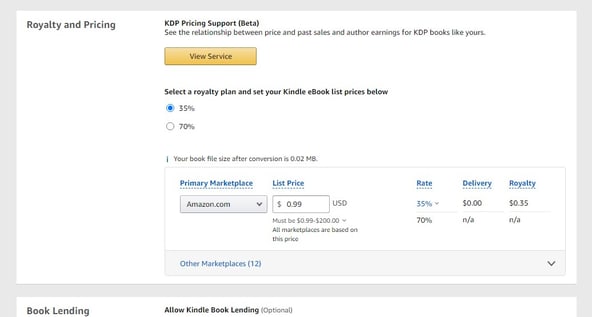
eBook Pricing
You have to set a price for the eBook. I just select 35% commission and then put in the minimum available price at $0.99. Make sure it is set to Amazon.com as a marketplace.
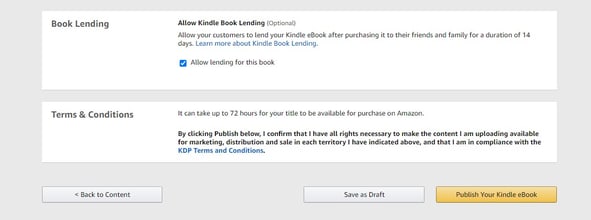
Publish Your eBook on Kindle!
From here, you are basically done!
Now you just need to hit publish to submit it for review. I didn't really look at how long it took for the eBook to be approved, but it was relatively quick - about 3 hours.
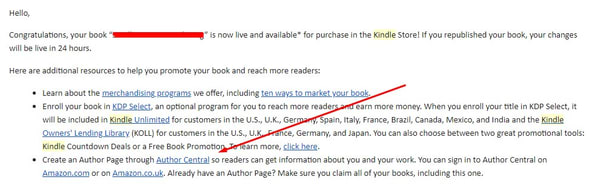
You get notified by email when it is live, and they give you a link to claim it as an author.
eBook Approved on Kindle & Amazon
Once approved, go and follow the steps on Author Central to set up your Amazon Author page.
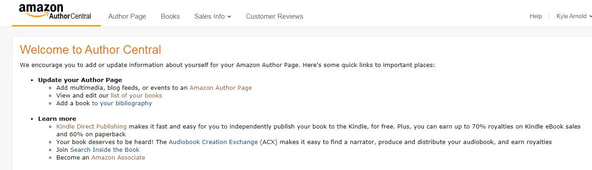
Claim an eBook & Setup Your Author Page
Once approved, go and follow the steps on Author Central to set up your Amazon Author page.
Go to the 'Books' section and add in your eBook. Once that is done you can go to the Author Page and it will appear in there after some time.
Get Your Amazon Author Page Do-Follow Backlink
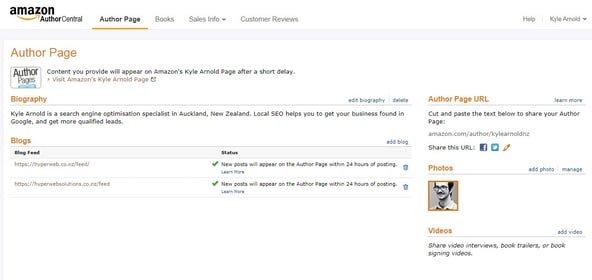
Under the Author Page section, you can then fill in more info such as a bio, profile image, custom Author Page URL, and most importantly - your blog feed!
You will notice I have two websites in there. I am gradually switching from hyperwebsolutions.co.nz to hyperweb.co.nz. In the meantime I've added them both in there because I can.
If you are on WordPress you can find the feed by visiting your domain url/feed:
domain.co.nz/feed/
Other platforms such as Shopify may have their own feed URL, but a quick Google search will point you in the right direction.
From here, if you've already got some blog posts, they will show up on your page within 24/hours.
Keep in mind that mine has been done for testing purposes, so it was quite rushed and may not be as detailed as it could be.